.jpg)
Screen printing is an awesome skill to learn! Follow these steps to understand the ins and outs of the process. This tutorial has simplified the process as much as possible. Keep in mind that you might not get it right the first few times but thats okay! Dont get discouraged, keep trying!
500 Watt Work Light
One 20x24 Screen
Squeegee
Water Based Screen Print Ink
Scoop Coater
Photo-reactive emulsion
Emulsion Remover
11x17 Transparency Film
Its recommended to purchase all equipment
at your local screen print supply shop.
.jpg)
Create a graphic to print onto the 11x17 transparency film. Or you can paint right onto the film! The key is to print or paint on the film as dark as possible. You should not have any light passing through the graphic, only around it. If you don't have access to a high quality printer, load your graphic onto a thumb drive, and take it to Staples or any other office supply store. There they can print on your film for you. If your graphic doesn't print dark enough you can make a second print and overlap the film.
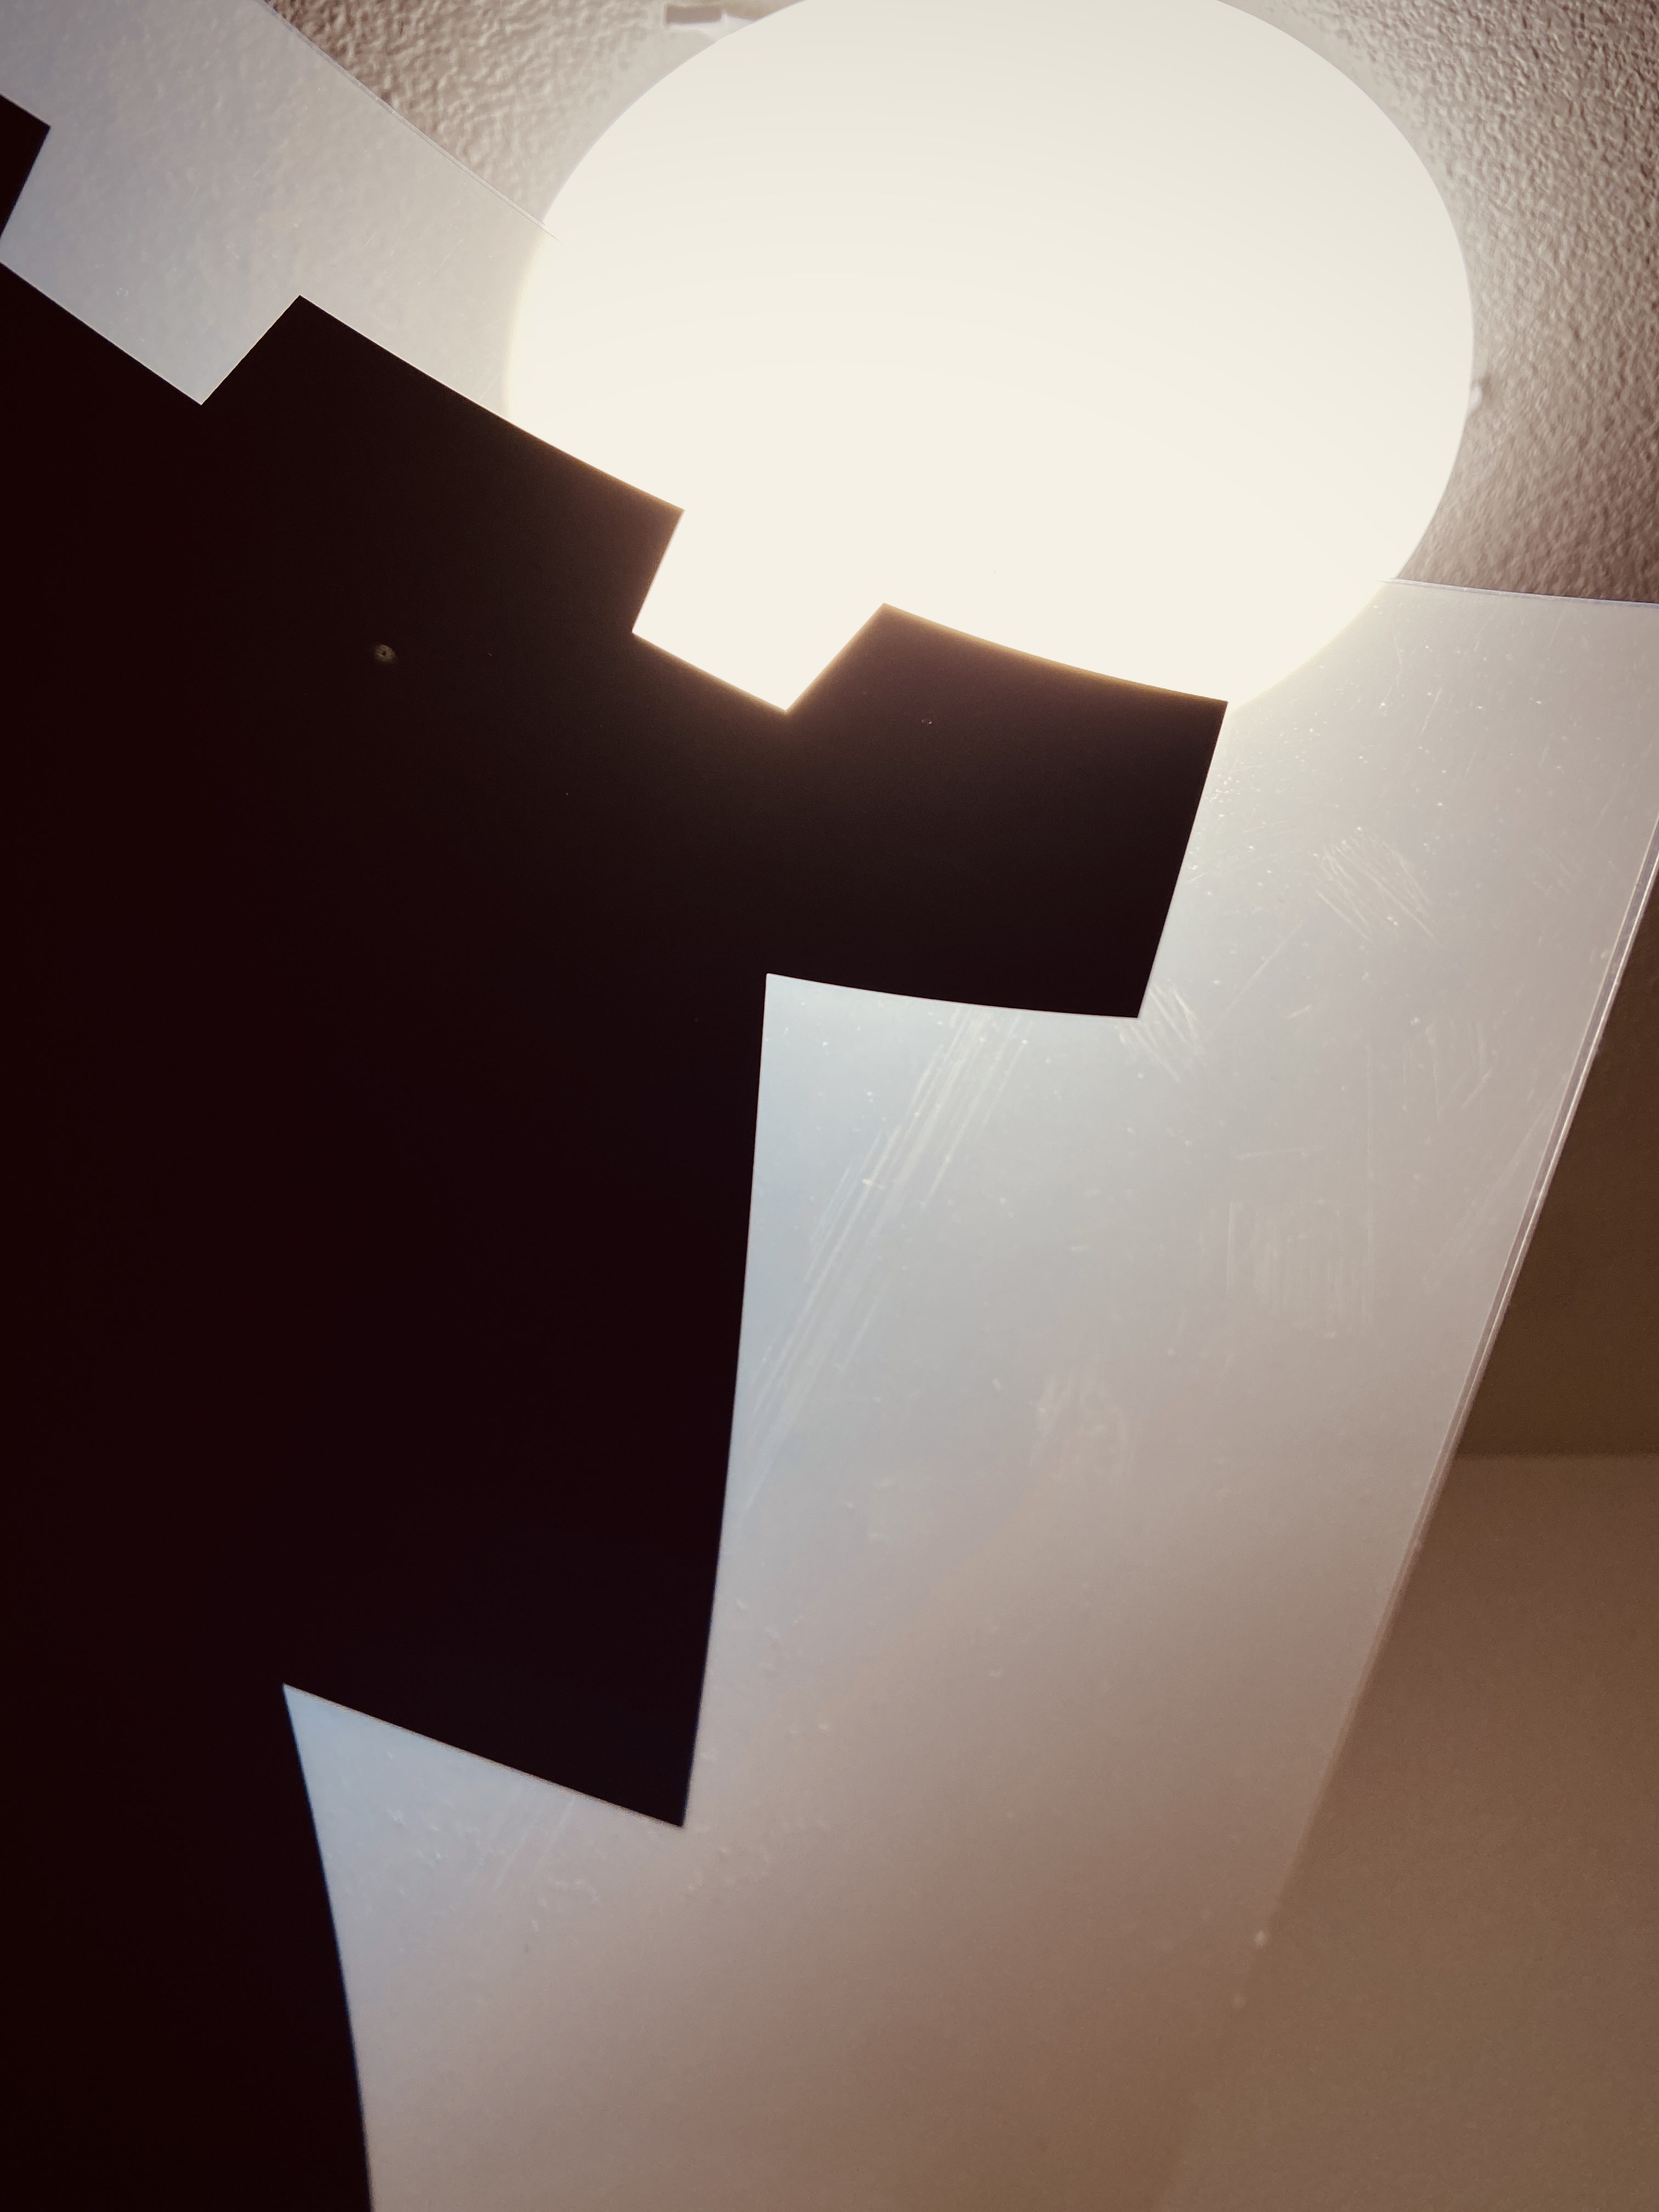
Coating the screen can be tricky. Fill your scoop coater about quarter way full with emulsion. Emulsion is photo-reactive so do this in a low light area. with scoop coater in one hand, hold the screen at about 45 degrees. Put the scoop coater edge at the bottom of the screen. Tilt the scoop coater over until its edge is flat against the screen. Wait a bit for the emulsion to sink onto the screen, then with slight pressure, push the coater from bottom to the top of the screen on both sides. Its okay if you mess up on your first pass, just make a few more across the screen until you get it right. The emulsion should be distributed equally across your screen. Next leave it to dry in a very dark area like a drawer, room, cabinet, etc. for a few hours.


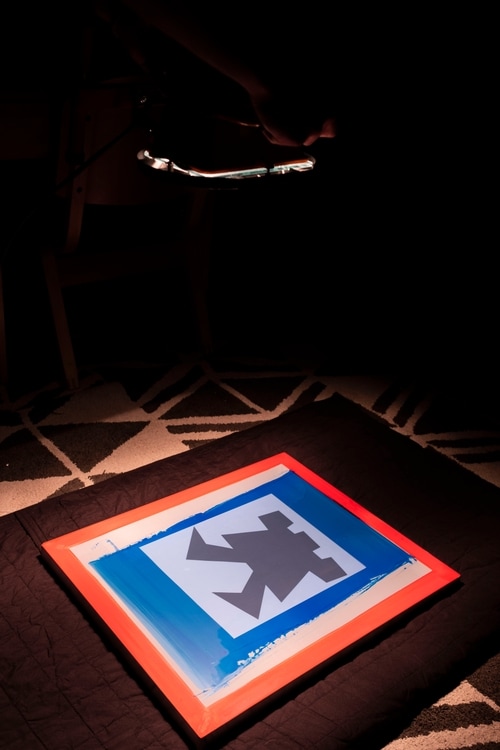
After your screen has completely dried it is time to burn the screen. In a dark place, put your screen on the ground, preferably on a black surface so that light does not reflect up back onto the screen. Take your graphic and place it backwards on top of the screen. Now with the 500 watt work light, hold it about 3 feet above your screen, turn it on and expose the screen to light for 4 minutes and 30 seconds. Exposure times are tricky and can be very specific. The emulsion around the graphic will start to harden. Since the emulsion behind the graphic wont be exposed to light it will stay loose and fall out during the wash. Allowing for a nice mask.
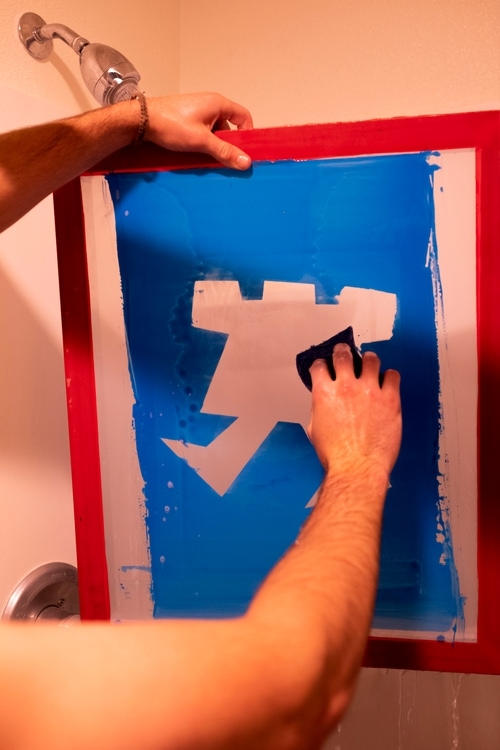
Next wash the screen with high pressure water and watch your graphic magically appear through the screen. Sometimes you can use a sponge to help aid the screen if you don't have access to high pressure water. If you decide to do this make sure you scrub very lightly or you will tear other part of the mask.

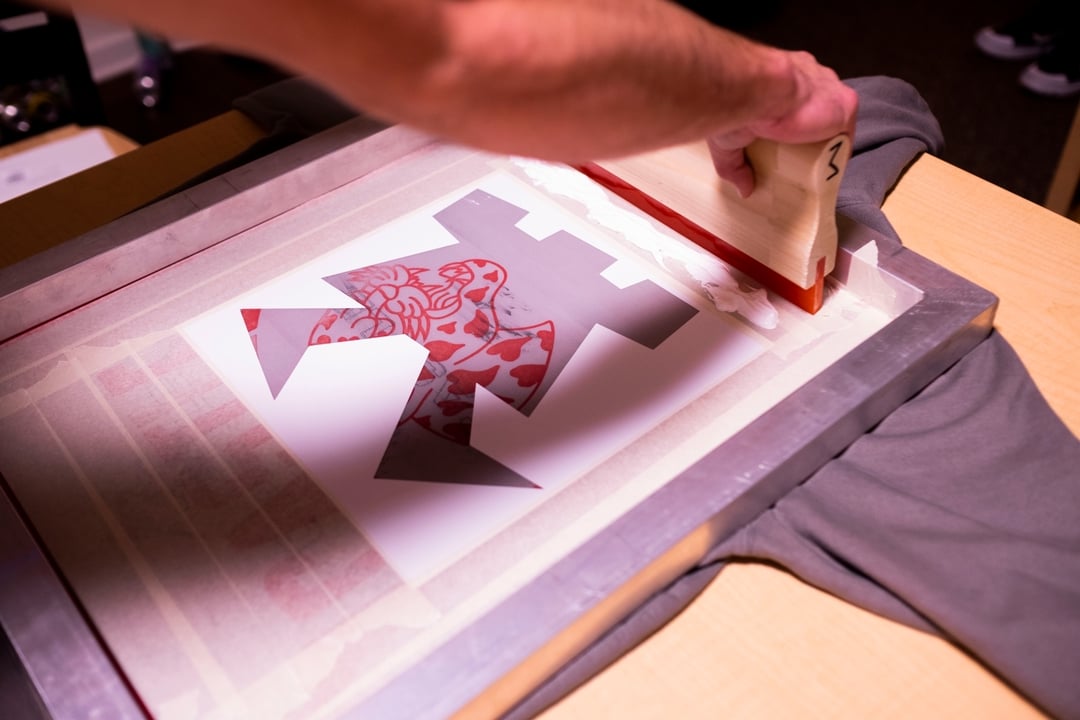
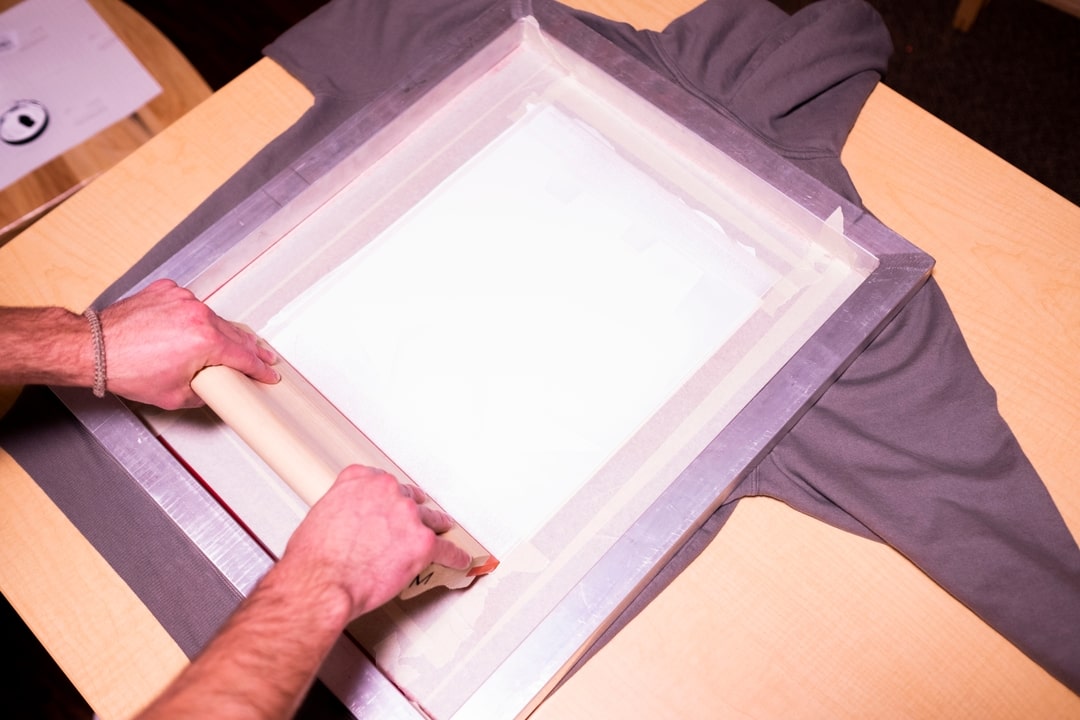
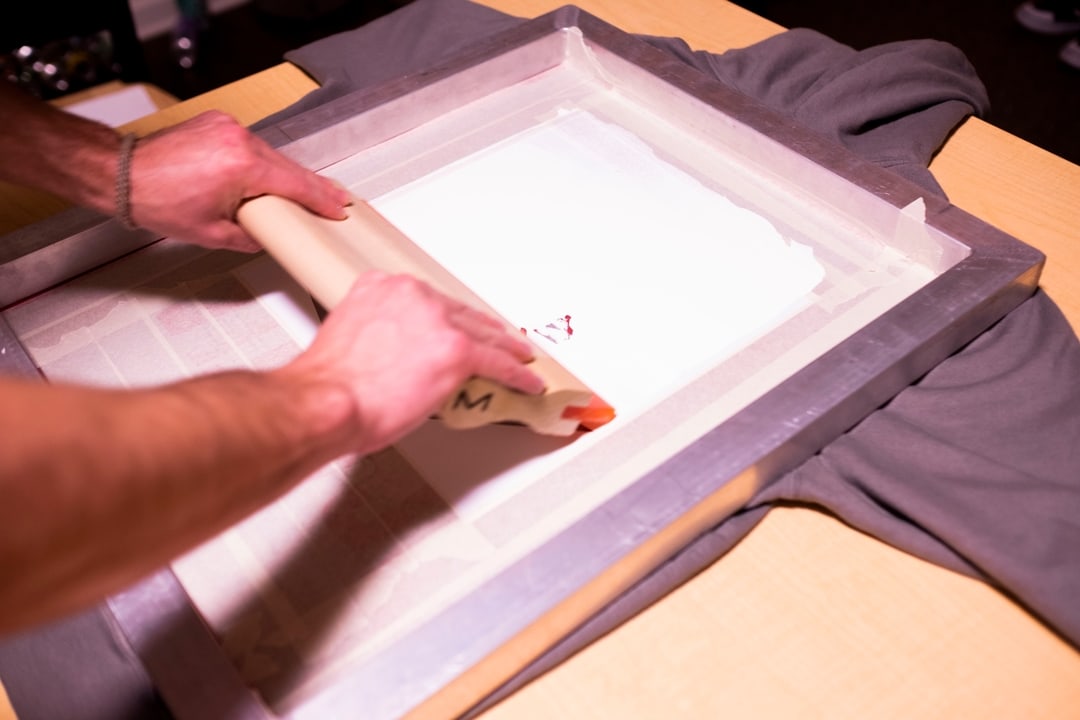
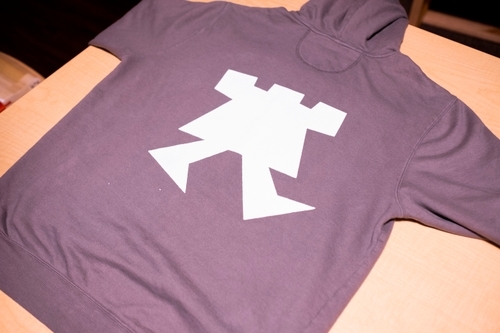
After you've washed out your mask look for any holes in the screen. place masking tape over the holes so ink does not print in any unwanted areas. Place your desired print material on a flat surface. Then place the screen on top of the material and align the screen so it is straight. Next place a bead of ink above your graphic. Take your squeegee and without any pressure drag the ink across the screen. This is called loading the screen. This makes sure there will be an even amount of ink across the graphic. Now place the squeegee at the top of the screen and firmly push and pull the squeegee to the bottom of the screen. Repeat once our twice. Then remove the screen slowly from the material and place the material in a safe place to air dry.
